I quess, to make this easier, I will flip a coin. Heads for the one on the left, and tales for the right……drum role please……and its tails! So the one on the right it shall be.
3. after saving the brush in the Brushes Palette, I began drawing the geometric lines.
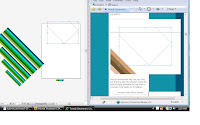
4. Using the Pen Tool, i drew a 45 degree line across the page, all the while, holding Shift to constrain the angle.
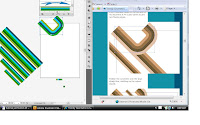
5. chose new art brush from the Brushes Palette and applied to the line
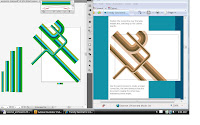
6. I Repeated this process several times, scaling each one slightly to give varied sizes and widths to work w/.
7. then I Produced another line with the Pen Tool, giving the line rounded corners by heading to Effect > Stylize > Round Corners w/ a radiuos of 55px.
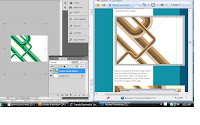
8. combined and matched up the color to other lines.
9. repeating the same process, to create a longer curved line, this time changing the direction flow across the document crossing all other lines.
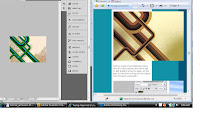
10. I then Selected the group of lines and Copied, switched over to Photoshop, setting up a new document, Pasted in the lines and scaled appropriately.
11. On the background layer fill the page with an accompanying colour, I use a 20% Yellow to give a pale tint.
12. adding a few effects onto copied layers, and changing the blending options this is what I have completed.
11. On the background layer fill the page with an accompanying colour, I use a 20% Yellow to give a pale tint.
12. adding a few effects onto copied layers, and changing the blending options this is what I have completed.

This one was a lengthy
tutorial. But, hell, did I learn a lot. Both in illustrator and photoshop.
http://www.webdesign.org/web/vector-graphics/adobe-illustrator/trendy-geometric-lines-design.15910.html


No comments:
Post a Comment